Card Wallet Pattern and Tutorial
July 4th, 2011 | Link
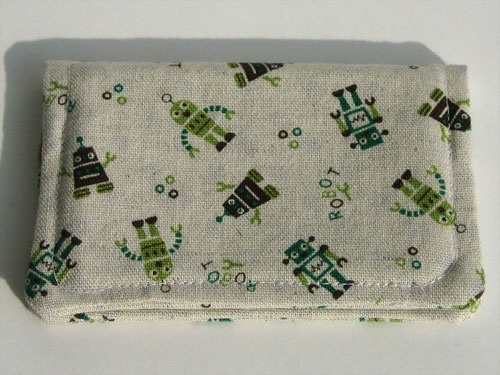
Longtime readers may recall the fabric card wallet I made some time back. Today as I was, well, procrastinating on writing an article about designing keyboard-only interactions for web sites, I started cleaning my studio and found a bunch of fabric I’d cut to make more robot wallets. Then I decided to procrastinate on cleaning my studio and make robot wallets instead. And then I decided to write a tutorial!
Materials
First, you will need the pattern, which I have conveniently provided in handy PDF format.
Second, you will need fabric about 10″ by 10″ square if you’re making the wallet all from one fabric. If you’re using scraps, the outside and lining pieces are about 6″ by 4-3/4″, and the pockets are 2-3/8″ by 4-3/4″ (you’ll need two). My fabric is a Japanese reversible cotton/linen blend purchased from Super Buzzy.
If your fabric is very lightweight you may want to add interfacing to give the wallet some structure. (I didn’t use it.)
In addition to fabric, you’ll need about 10″ of 3/8″ double-fold bias tape. Mine is another Japanese cotton/linen blend from Super Buzzy.
And of course you’ll need thread to hold everything together.
Instructions
Cut one each of the outside and lining fabric, and two pockets. Sew bias tape over the raw edge on the straight end of each pocket. (In the photo below, my outside and lining fabric are the same — I use the other side of the fabric, which is printed with purple dots, for the lining.)

Place the lining piece with the right side up, and position the pockets (also right side up) on top of it so that the sides and bottom edges match up.
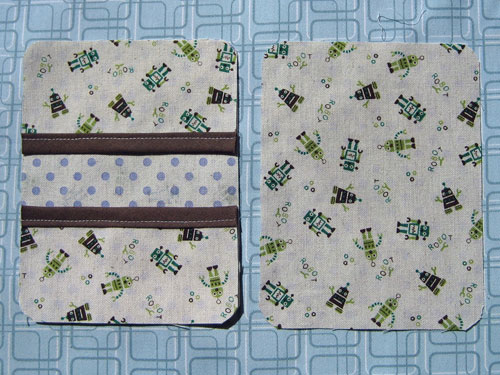
Place the outside piece WRONG SIDE UP on top of the lining and pockets. (In my case, the wrong side happens to be printed with purple dots — the (right) robot side will be showing when we’re done.)
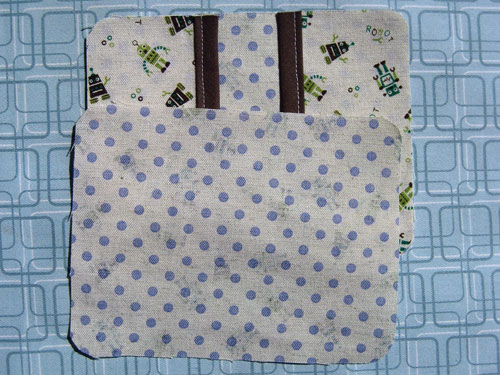
Match up all the edges and pin together to keep the pockets from falling out while you sew. Backstitching at the start and end, sew around the perimeter of the wallet with a 1/4″ seam allowance, leaving about 2-1/2″ unsewn at one end so you can turn everything right side out.

Trim the seam allowances on the three sewn edges to about 1/8″ from the stitching line. On the open end, leave the seam allowance at 1/4″ across the opening (it will be easier to turn in later) and taper to 1/8″ around the corner curves.
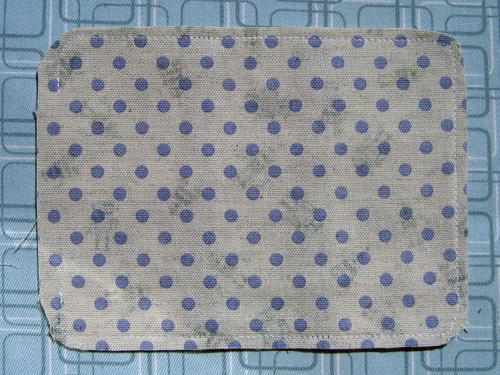
Turn the wallet right side out. I find the easiest way to get the curves to turn out nicely is to put the tip of my thumb in each corner curve in turn, hold the fabric between my thumb and index finger, and then pull the fabric around it. (Hopefully that makes more sense when you try it.) Push all the sides into shape and press abundantly.
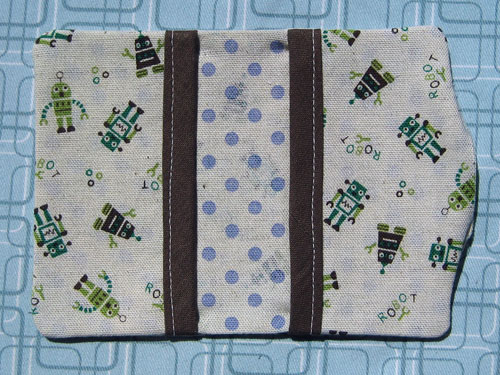
Fold and press the raw seam allowances at the open end to the inside of the wallet. Do your best to make the folded edges match up flush.
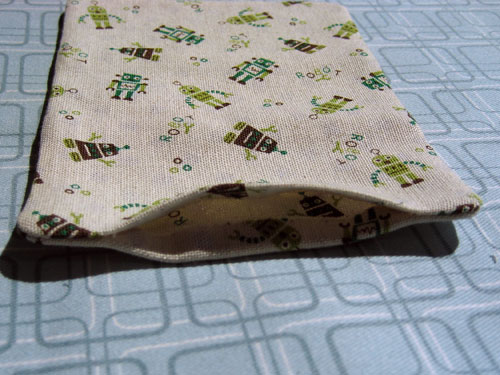
Backstitching at the start and end, top-stitch close to the edge around the whole wallet, including the opening (this stitches it closed). On my sewing machine foot there’s a 2mm marker and I use that. You want to be less than 1/8″ from the edge.

Insert business cards or your driver’s license and credit cards, and be prepared to smile gracefully when people admire your cute wallet!


I love my robot wallet! It’s the perfect container for my ID and a little cash when I head to the park for a run.