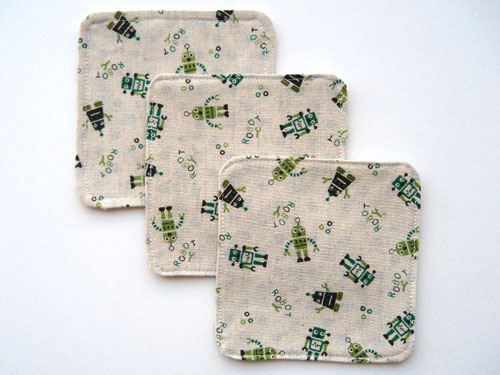
I for One Welcome Our New Robot Overlords — I Mean, Coasters
July 6th, 2011 | Link

Things to do when one is procrastinating and has scraps of fairly expensive Japanese fabric that are begging to have something done with them. I’ve seen fabric coasters that have batting or flannel between the layers, but I didn’t bother. Finished size is a scant 3-3/4″ on each side.
Super Fast Instructions
Cut two 4″ squares of fabric. Curve the corners to make it easier to turn them inside out (I just followed the corner curves from the card wallet pattern around each corner — they have a 1/2″ radius). Place squares right sides together (if you want to add an extra absorbant fabric layer, place it on top of the other two pieces so it’s on the inside when you turn everything right-side out).
Sew around the perimeter of the coaster with a 1/8″ seam allowance, leaving about 2″ open along one side for turning. (Backstitch and the start and end of the stitching so it holds together while you’re turning.)
Turn right-side out and press flat. Fold raw edges from opening towards the inside and press so they’re straight.
Top-stitch around the entire coaster very close to the edge (I use the 2mm marker on my sewing machine foot), backstitching at the start and end.
You’re done. I told you it was going to be super fast!


No Comments
RSS feed for comments on this post.