
The Stockings Were Hung by the Chimney with Care
November 2nd, 2008 | Link
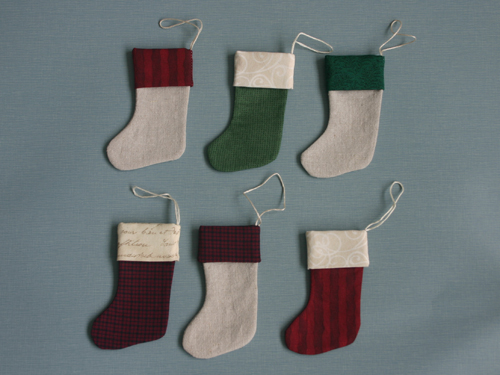
I had a number of small scraps of linen after sewing this tote and this skirt, so I used those and dug into some of my old stash of quilting fabrics to sew up a bunch of ornaments. I thought they turned out pretty well—kind of Zakka-esque—so I’m sharing the cuteness with a free, no-strings-attached (no pun intended) PDF of the pattern, and an accompanying photo tutorial.
The finished stockings are about 3″ wide by 3 1/2″ high. I like mine plain, but you could embellish them with embroidery or fabric paint. Make a few to hang on the tree, or make a garland; stick a card inside and use one as a gift tag, or stick one on some card stock and make a Christmas card.
Materials
Stocking Body: two pieces of fabric, 3 1/2″ wide by 4″ high
Cuff: two pieces of fabric, 2 1/2″ wide by 3″ high
Embroidery floss or twine for hanging
If your stocking body fabric is light-weight (e.g., quilting cotton), stabilize it first by ironing light-weight, woven fusible interfacing to the wrong side of the fabric. It is not necessary to stabilize the cuff fabric, as it gets folded over itself.
Additionally, you’ll need the pattern pieces from the PDF, or you can draw your own.
Assembly
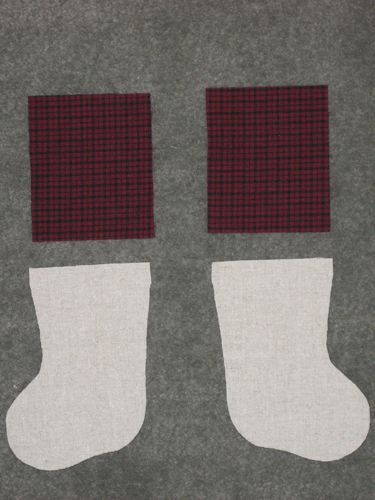
Place stocking body fabric right-sides together. Cut around the pattern piece through both layers of fabric. Cut cuff pieces from contrasting fabric.
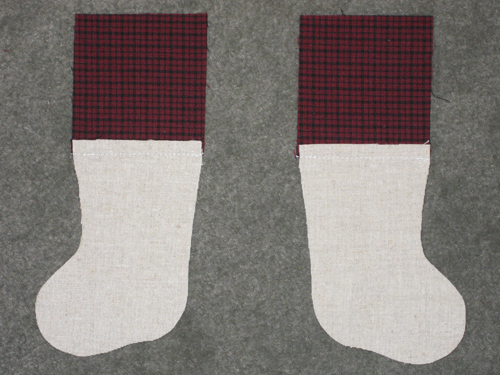
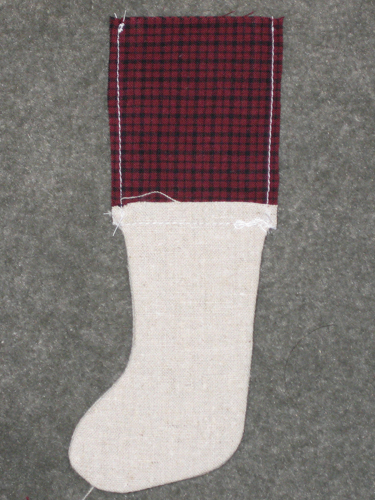
Match the top of one cuff to the top of one stocking body, with the right side of the cuff fabric facing the wrong side of the stocking body fabric. (I know, it sounds wrong. But you’re going to have the wrong side of the cuff facing outward, and then fold it over.) Sew across the top edge, using a 1/4″ seam allowance. Repeat this step with the second cuff and body pieces.

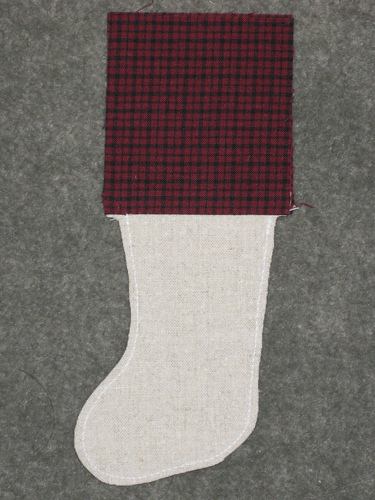
Press the seam open to one side, with the seam allowance toward the cuff.
Pin pieces together with the right sides of the stocking body (and the raw seam allowances) facing together. Sew around the stocking body only (not the cuff) using a 1/4″ seam allowance, starting and ending at the cuff seam line. Trim the seam allowance you’ve just sewn to about 1/8″ from the seam.
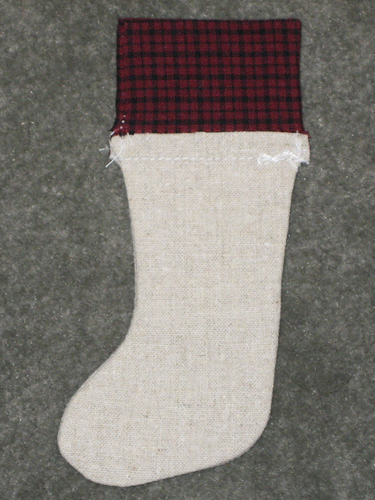
Turn the stocking inside out and press. Sew each cuff side edge using a 1/4″ seam allowance. Trim the seam allowance to about 1/8″ from the seam. You don’t need to finish the raw edge of the cuff, because it’s going to be folded under where no one will see it.
Fold the top edge of the cuff to just above the raw edge of the stocking body seam allowance, so that the wrong sides of the cuff are touching. Press this fold.
Fold over again in the same direction, over the top of the stocking body, so that this new fold line is at the top edge of the raw seam allowance. Press the fold.
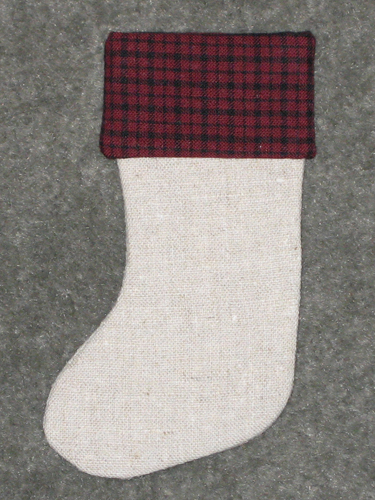
You’re done! For an ornament, attach embroidery floss or twine at the back of the cuff, so that the knot is hidden under the cuff.


This is so cute! I’m going to make hundreds!
Careful Katie, that’s not hard to do—especially since you’re a quilter and probably used to speed piecing. I have 33 already!
And thanks!